Push the Patient Difficulty Tier List
Community-informed S–C rankings — late dumbbell pain and live morgue precision called out so you practice the real walls first.
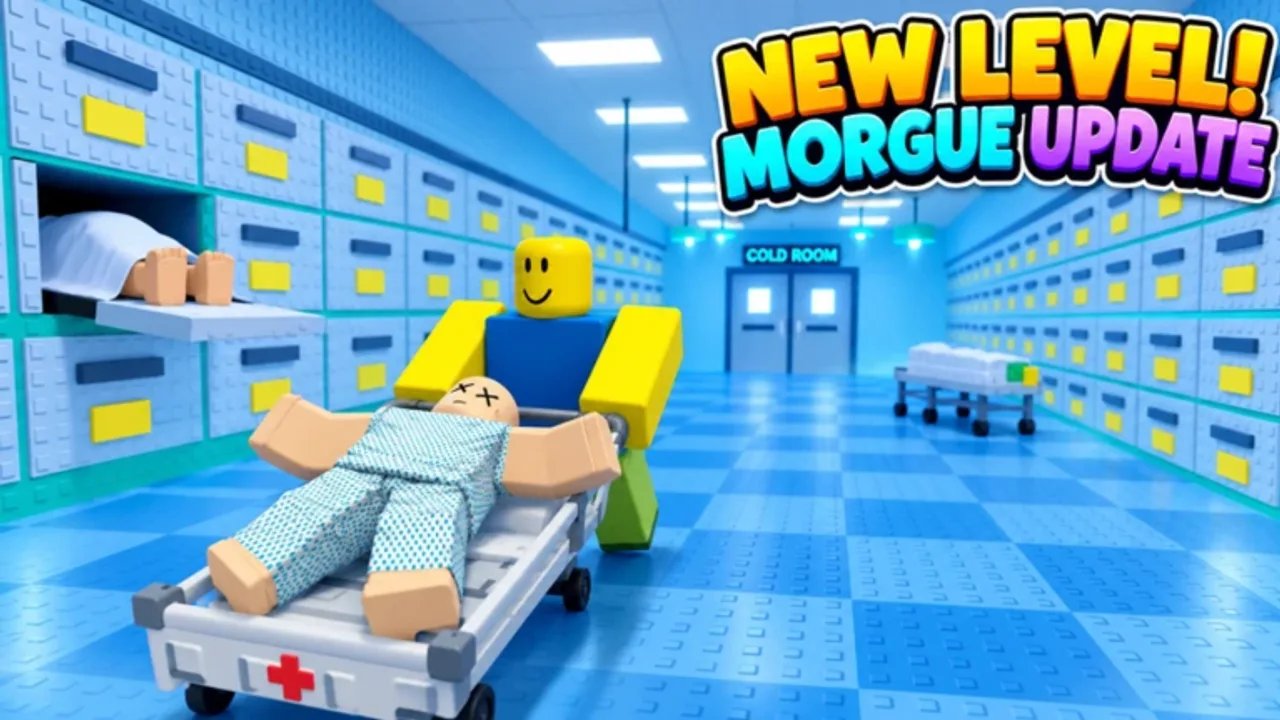
This Tier List Hub ranks Push the Patient level difficulty from S (most punishing) to C (onboarding-friendly). Rankings blend community feedback — including frequent complaints about later obstacles such as the level 8 dumbbell section — with how the course introduces hazards: early teaching moments, mid-game rails and pills, then late precision drops. During the live Morgue Update (November 13–29, 2026), treat drawer timing, gurney chicanes, and cold-room finishes as precision walls in the same spirit as dumbbell S-tier pain. Use the list to plan practice order, not as a skill insult.
Push the Patient is Myriagone’s free Roblox Obby & Platformer (launched 2026-09-20): guide a rolling hospital bed through chaotic wards solo or in a 2-player duo (pusher/brakes + patient steerer, swap anytime). Difficulty here means wipe rate and required coordination, not combat DPS. For a full clear plan, open How to Beat; for solo multitasking, see solo mode.
Ranking criteria
We weight four signals equally:
- Precision demand — How small is the safe braking window?
- Hazard stacking — Do pills, rails, and drops overlap?
- Duo desync risk — How easily do poor callouts void the attempt?
- Community choke reports — Where do players say they are stuck for long sessions?
Tiers can shift after events like the live Morgue Update or the ended Nursery Update. Recheck this page after major patches.
Difficulty tiers at a glance
| Tier | Meaning | Typical traits |
|---|---|---|
| S | Highest wipe rate | Late dumbbell / morgue precision, stacked hazards, tiny brake windows |
| A | Hard clear | Long rail lines, awkward camera, duo must stay synced |
| B | Medium | Introduces pills or rails seriously but forgives small mistakes |
| C | Easier / teaching | Wide floors, clear sight lines, learns push and steer basics |
C-tier — early hospital teaching floors
Early levels exist to teach bed momentum, light braking, and the idea that the patient can steer while someone else pushes. Expect wider corridors, obvious arrowing, and fewer stacked hazards. If you wipe here repeatedly, revisit Getting Started before grinding later ranks. Solo players should still practice swapping mental roles: push carefully, then think like a steerer on corners — solo mode helps lock that habit.
Practice goal: Leave C-tier when you can stop the bed on command without bouncing into walls.
B-tier — pills and first real rails
Mid-course stages raise the cost of greed. Pills and rolling clutter punish over-speed; rails punish late turns. Duo pairs should start using short callouts (“brake,” “left,” “hold”) here — see callouts. These levels feel fair once you respect momentum — most wipes are impatience, not unfair geometry.
Practice goal: Cross a full rail segment without panic steering corrections every second.
A-tier — extended rails, camera fights, drop recovery
A-tier stages combine longer hazard chains with worse recovery if you miss a brake. Drops get harsher; sight lines get noisier, especially when event themes (nursery toys earlier; morgue drawers and gurneys now) add visual clutter. This is where duo voice chat pulls ahead of silent play. Read Hard Levels and How to Beat alongside your attempts and confirm roles on the Players Hub.
Practice goal: Recover from one mistake without chaining a second void.
S-tier — late dumbbell and morgue precision walls
S-tier is where community frustration peaks. Players publicly report getting stuck deep into the run — level 8’s dumbbell section is a recurring example — because the safe line demands coordinated braking and steering with almost no margin. Morgue precision belongs in the same conversation while the event is live: body-drawer timing gates, gurney hitboxes that yaw the bed, and cold-room overshoots after a “perfect” corridor wipe runs that looked free.
Treat S-tier as a lab: isolate the segment, assign who calls brake, and swap roles if one player’s camera or nerves fail. Solo labs work too — solo mode keeps reps honest without waiting on a partner.
Do not reach for unverified scripts; see the Scripts Hub for why that trade is worse than another twenty clean attempts. Use the Walkthrough for context, How to Beat for clear strategy, then grind the specific S-tier room with Hard Levels and the run checklist.
Practice goal: String three near-clears in a row before chasing a full run PB.
How to train with this tier list
- Warm up on a C or B stage to feel current ping and brake timing.
- Pick one A or S segment from Hard Levels as today’s focus (dumbbell stretch or a morgue drawer/gurney cluster).
- Duo: lock pusher and patient for ten attempts, then swap for ten more; keep callouts short.
- Solo: use solo mode burst-tap habits on the same segment.
- After an update, re-test your previous S-tier room — Morgue geometry may change the line.
- Track personal wipe causes (early push, late steer, mis-swap) instead of only “level bad.”
Related pages
- Hard Levels — choke-point tactics
- How to Beat — full clear strategies
- Solo mode — practice without a partner
- Walkthrough — full route context behind the ranks
- Guides Hub — all tutorials
- Updates Hub — event-driven difficulty shifts
- Tools Hub — pre-run checklist
Ranks are a map for practice, not a final judgment of your duo. Clear C with good habits and S-tier (dumbbell or morgue) stops looking mythical.
Frequently Asked Questions
Quick answers for duo runs, codes, updates, and stubborn hospital levels.
What does S-tier mean on this list?
S-tier stages have the highest wipe rates and tightest brake/steer windows. Community reports often highlight late sections such as the level 8 dumbbell stretch, plus morgue drawer/gurney/cold-room precision while that event is live.
Is the tier list for solo or duo?
Both. Duo coordination can make A-tier feel like B, while silent duo play can turn B-tier rails into A-tier chaos. Use solo mode when you need honest reps without a partner.
Will the Morgue Update change rankings?
It can. New morgue-themed geometry and visuals may raise or lower wipe rates. Recheck this hub during and after the November 13–29, 2026 event window.
Where should I go if I am stuck on an S-tier room?
Open Hard Levels for focused tactics, How to Beat for clear strategies, Solo mode for partner-free labs, and the Tools run checklist before long sessions.